( by julien Tromeur )
|
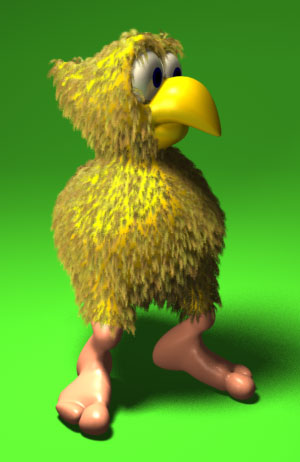
Here we are going to go through a simple method for modeling : the box modeling. The process is very simple, you start from a box, then you subdivide it and use a few simple tools to get the desired shape. Here I wanted to model a stupid bird ( stupid and no wings..), this should take an hour or two. Let's get started. |
|
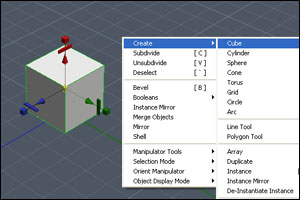
First, you just have to create a box :
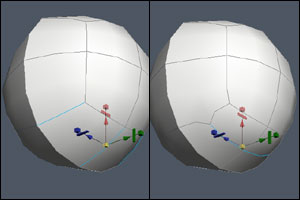
We are going to use the Universal manipulator tool in this tutorial : key Q |

|
Subdivide the box once, and refine the mesh. By
the way, I use my own button setup for this tutorial, it's not
perfect, it's just very simple, you can download it here.
|
|
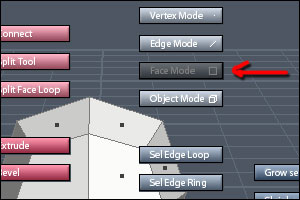
Hit space, got into Face mode. |
|
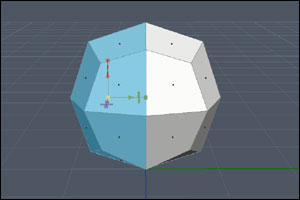
Select half of your model, just use the Middle Mouse Button while dragging to select the back faces. ( Use shift to add selections (faces, edges etc..), use shift/alt to remove selections.) |
|
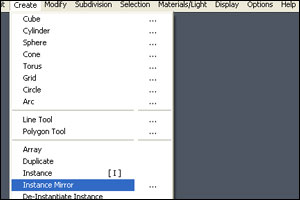
Now that you have only one half of the model go to Create/Instance Mirror, this creates a "real time mirror" of your half, every change you make on one side happens on the other side as well. It's very useful for creating organic shapes such as heads and bodies. |
|
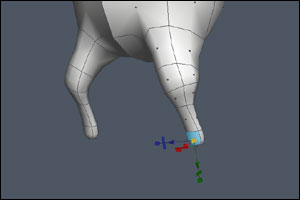
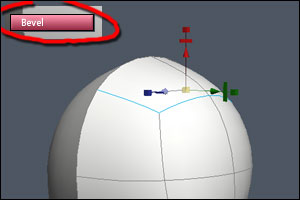
Hit space and select the Edge mode, then select two edges on the bottom. Once selected, hit space and
Connect. |
|
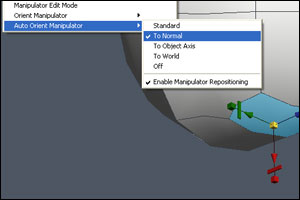
Select the face as shown on the left. Here we want the manipulator to match the face's orientation, just activate the Selection/Auto Orient Manipulator tool to Normal. |
|
Hit space and Extrude. This is where the Universal Tool Manipulator becomes handy, just pull, scale and rotate your new face as desired, this tool makes modeling very intuitive. |
|
Repeat last action a few times in order to get a "chicken leg". |
|
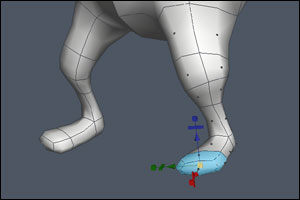
Keep on the extruding process, try to get a basic foot shape. One of the tools I use the most is the grow selection, it helps a lot to expand your current selection. |
|
Once you're
satisfied with the basic foot you're going to add toes. |
|
Then just add toes like you did for the legs and feet, select a face, extrude, pull, scale and rotate as desired.
|
|
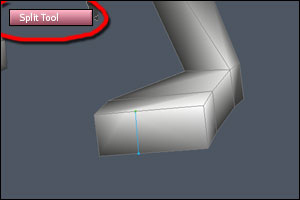
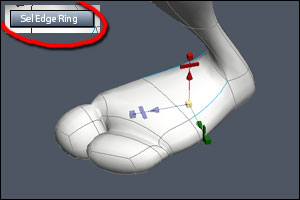
Our foot is
pretty flat at the moment, let's add geometry in the
middle. Sel edge ring and sel edge loop are very handy and improve your workflow a lot, try to experiment with them to understand how they work. |

|
Now that you have enough geometry, try to model your feet the way you want to. Another
great way to model is to use the tweak mode, in
vertices mode just use crtl and
your mouse to move points around. |
|
Now we're going
to model the head. |

|
Then select the top faces and extrude as desired. (same process as for the legs). |
|
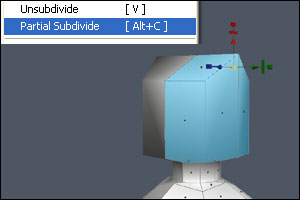
Unsubdivide your
mesh, select your head and use the Subdivision/Partial
Subdivide menu. |
|
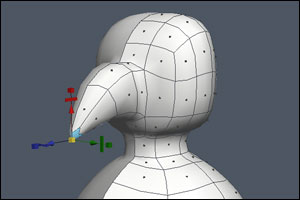
Select the front faces and build a nose with the extrude/scale method. |
|
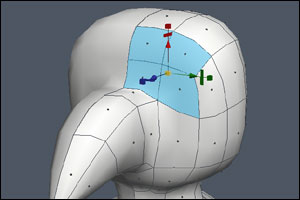
Now we're going to build the eye socket. |
|
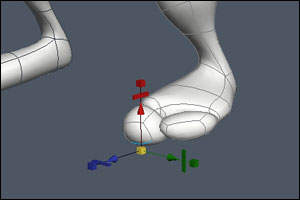
Select the
faces as shown on the picture and
extrude inside the head. |
|
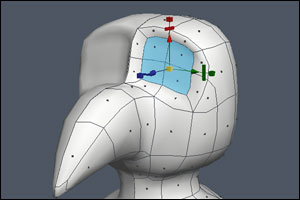
One thing I like
to do to get nice round eyes is to build my mesh
around a sphere. Feel free to add geometry around the eye, I used the spit tool a lot here. |
|
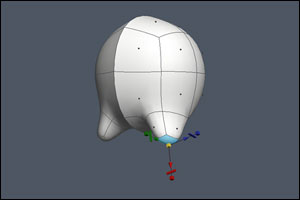
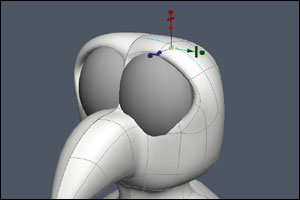
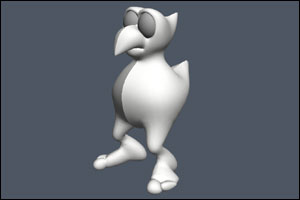
Now we want to
pull the head in order to get a more interesting shape for a stupid
bird. Pull vertices to get the stupid head you want. |
|
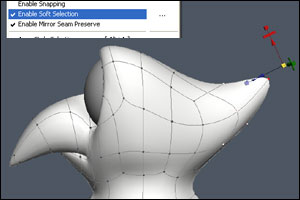
Try to do the same with the body. Now you can select and scale/rotate big parts of your body, try to play and give your bird big feet, a big stomach etc... Once satisfied you can de-instantiate your half and merge the two (merge vertices). |
|
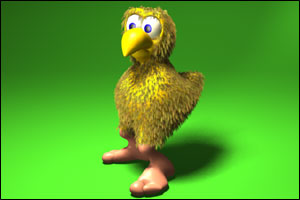
That's it, we
quickly made a stupid bird with a very simple method, with just a
few tools we saw how to get interesting shapes. |